How to sell on Takealot
Are you interested to know How to sell on Takealot?
Before we begin, you will fall under one of these two categories.
- You are an existing business owner that currently sells products by other means like a physical shop or online;
- You would like to start a new business and start selling products on Takealot. If you are, please read the article: Start a New Takealot Seller Business.
Takealot for existing Business Owners.
If you fall in the category of a current business owner, you will be glad to hear that the road to selling on Takealot is not that long and difficult. Let’s take you through it step by step.
1. Apply to become a Seller on the Takealot Seller Portal
How to apply as a Seller on Takealot? Log on to the Takealot’s Seller Portal and fill in your information on https://www.takealot.com/sell . You will be required to provide your personal and company details, a functioning email address and so on. Make sure to provide the correct information, as you will be required to submit proof of such information once your application has been accepted. Once you complete your application, you will receive an email confirming your successful application to the email address provided during sign up. Takealot might request a product catalogue before approving your application. Thereafter, Takealot will provide you with an online storefront where your products will be displayed.
2. Takealot Onboarding
Once your application has been approved and your Seller Account registered, you will be able to log on to your Takealot Seller Portal, with the login details provided by Takealot. Next, you will see Takealot’s Onboarding on the screen. You will not be able to continue with anything else until you have finished the onboarding process. Takealot has gone the extra mile to help their new sellers by creating the onboarding to teach you how the Seller Portal works. Do not try to rush the onboarding as the information provided is a vital part of your success and efficiency as a Seller. Make some coffee, get in your comfy chair and start with the onboarding. Listen, take notes and learn.
3. List Your Products
You have now finished your onboarding and your Seller Portal has opened. The next step is to start listing your products. Takealot has a Seller Support line (details listed below), that is there to assist you, should you struggle with loading your first products. The most time-consuming part of loading all the products in your store, will be to create product photos with true white backgrounds.
Here are a few suggestions for creating a true white background:
- Photoshop (if you are familiar with the program);
- Remove Background (https://www.remove.bg) – low resolution images are free, high-definition images are paid for;
- A professional graphic designer.
Should your supplier not be able to provide you with high resolution images with a true white background, you will have to photograph your images yourself, or have a professional photographer photograph the products for you. Invest in your images, they are the first impression of your product.
4. Set your Selling Price
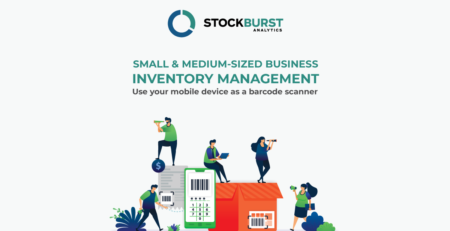
By this time, you have loaded your products and you can see them under My Existing Offers. You can now set a Selling Price and Recommended Retail Price for every product. You will have to take into account your Landed Cost and extra Takealot Fees such us the Fulfilment (Delivery) Fee and Success Fee Percentage. This is where Stockburst Analytics can be very helpful. Stockburst Analytics can calculate the Landed Cost of your products and give you Projected Profit by taking into account Takealot’s fees. Understanding your product costs is crucial to your success. Due to not understanding these fees, a lot of new Sellers end up losing money on the Takealot platform. They only realise this once it’s too late.
5. Replenish your Stock
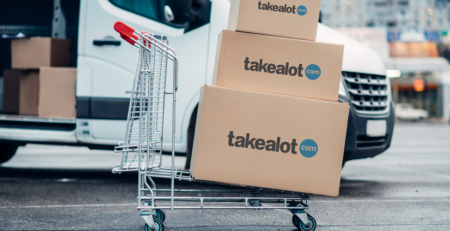
You are ready to send your stock to Takealot and activate your first listings. As a new Seller, it is recommended to send one of each of your products to the JHB DC and one of each to the CPT DC. You can book your deliveries with numerous Takealot preferred couriers. Once the Takealot distribution centers received and scanned your stock, your listings will go live and millions of customers nationwide can now purchase your product.
6. Sell on Leadtime
After Takealot has received your first replenishment, they will open the Leadtime and My SoH (Stock on Hand) fields on the Manage my Offers page. You can now enter the amount of stock you have available in My SoH. This means that your products will still be available for purchase even if you do not have stock at the Takealot warehouses. You can also select how many days you want your Leadtime to be. As a new Seller it is highly recommended to set your Leadtime to the maximum allowed day (currently 5 Days), as you need to get the hang of selling on Leadtime. You will have two days to book stock that was sold on Leadtime to ensure they arrive at the required DC on time. Failure to do so, will results in suspension of your Leadtime privileges and could result in suspension of your account.
By using Stockburst Analytics, you can manage your inventory to ensure that you never oversell and that your Stock on Hand always reflects the correct stock quantities available.
7. On your way to Success
There is nothing better for any store than to have your stock for sale on multiple platforms simultaneously. Make sure to sell quality products and to keep an eye on your reviews. Selling on Takealot is a FULL TIME JOB, but you will reap the rewards if you keep a close eye on your account. Good luck and enjoy!